Make the batch.
YIELD: 8 ride bars · PREP: 20 minutes · CHILL: 45 minutes · LEVEL: Easy · No bake
Ingredients
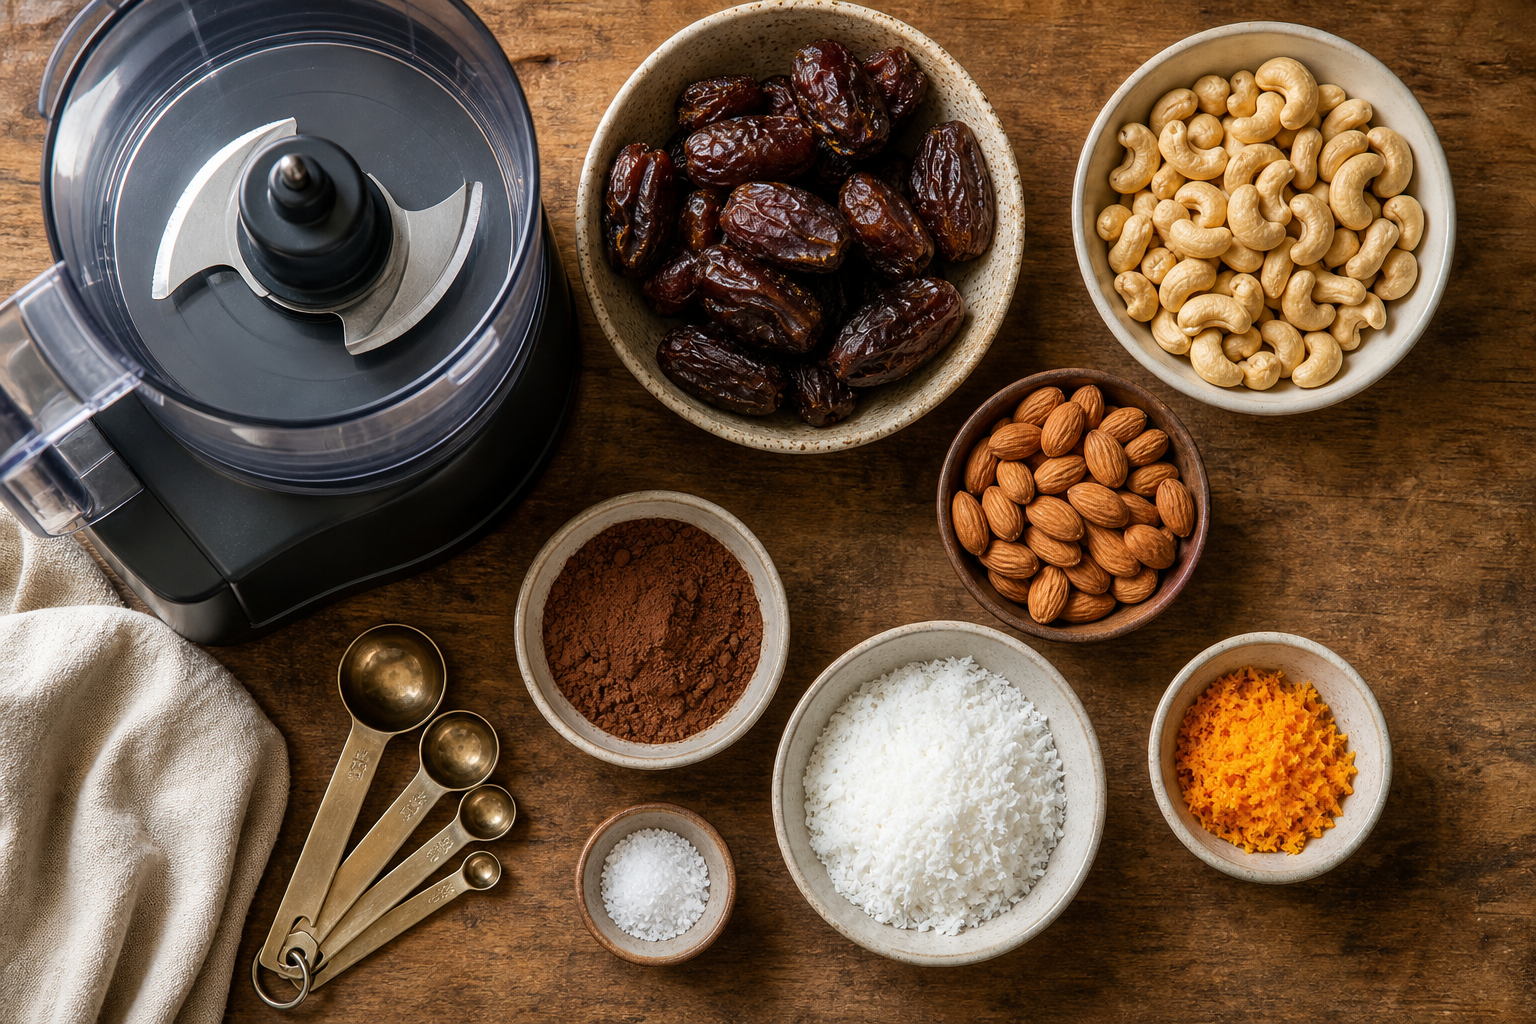
- 2 packed cups pitted soft Medjool dates (about 320 g)
- 1 cup roasted unsalted cashews (about 140 g)
- 1/2 cup raw or roasted unsalted almonds (about 70 g)
- 1/4 cup unsweetened shredded coconut (about 20 g)
- 2 tablespoons unsweetened cocoa powder
- 1 teaspoon finely grated orange zest
- 1/2 teaspoon fine sea salt
- 1–2 tablespoons water only if the mixture will not hold
Equipment
- Food processor
- 8-inch square pan or small loaf pan
- Parchment paper
- Flexible spatula
- Chef's knife
- Eight wrapping sheets or reusable snack sleeves
RIDE NUTRITION NOTE: Dates supply most of the carbohydrate; nuts and coconut add fat, texture, and some protein. Exact nutrition depends on ingredient brands and final bar weight. Calculate from your own packages if precise values matter.
ALLERGEN NOTE: Contains tree nuts. Prevent cross-contact when cooking for others. Choose ingredients and substitutions that fit personal allergies, medical needs, and food-safety requirements.
These homemade date-and-nut bars are built for steady ride-day snacking: dense, pleasantly chewy, easy to divide, and made from ingredients you can pronounce. The cocoa-orange version below makes eight compact bars and includes a practical packing test before they earn space on a remote ride.
01Prepare the pan and ingredients
Line an 8-inch square pan or small loaf pan with enough parchment to lift the slab out later. Pit every date by hand and check carefully for fragments. If the dates are firm or dry, cover them with hot water for five minutes, drain completely, and pat dry. Measure all ingredients before processing; excess water makes a sticky bar that softens quickly in a warm bag.
“A ride snack is not finished when it tastes good in the kitchen—it is finished when the wrapper opens and the bar holds together at mile forty.”
Z.O.A.T. recipe noteWhy every batch gets a field test
02Pulse the nuts to a coarse crumb
Add cashews and almonds to the food processor. Pulse in short bursts until most pieces resemble coarse sand with a few lentil-size bits remaining. Stop before the nuts become butter. The mixed texture creates a bar that holds together without becoming paste-like. Add coconut, cocoa, orange zest, and salt, then pulse twice to distribute them evenly.

03Add dates and test the bind
Add the dates in two batches and pulse after each addition. The mixture is ready when it clumps against the bowl and a squeezed tablespoon holds together without crumbling. If it remains dry after thorough processing, add water one teaspoon at a time—not by the tablespoon—and pulse again. If it feels greasy, stop processing and continue to pressing.
04Press firmly and chill
Transfer the mixture to the lined pan. Use the parchment edge or a second sheet to compress it into an even, dense slab about three-quarters of an inch thick. Pay attention to corners, which otherwise crumble when cut. Cover and refrigerate for at least forty-five minutes, or freeze for fifteen to twenty minutes, until firm but not frozen solid.
05Cut and wrap eight ride portions
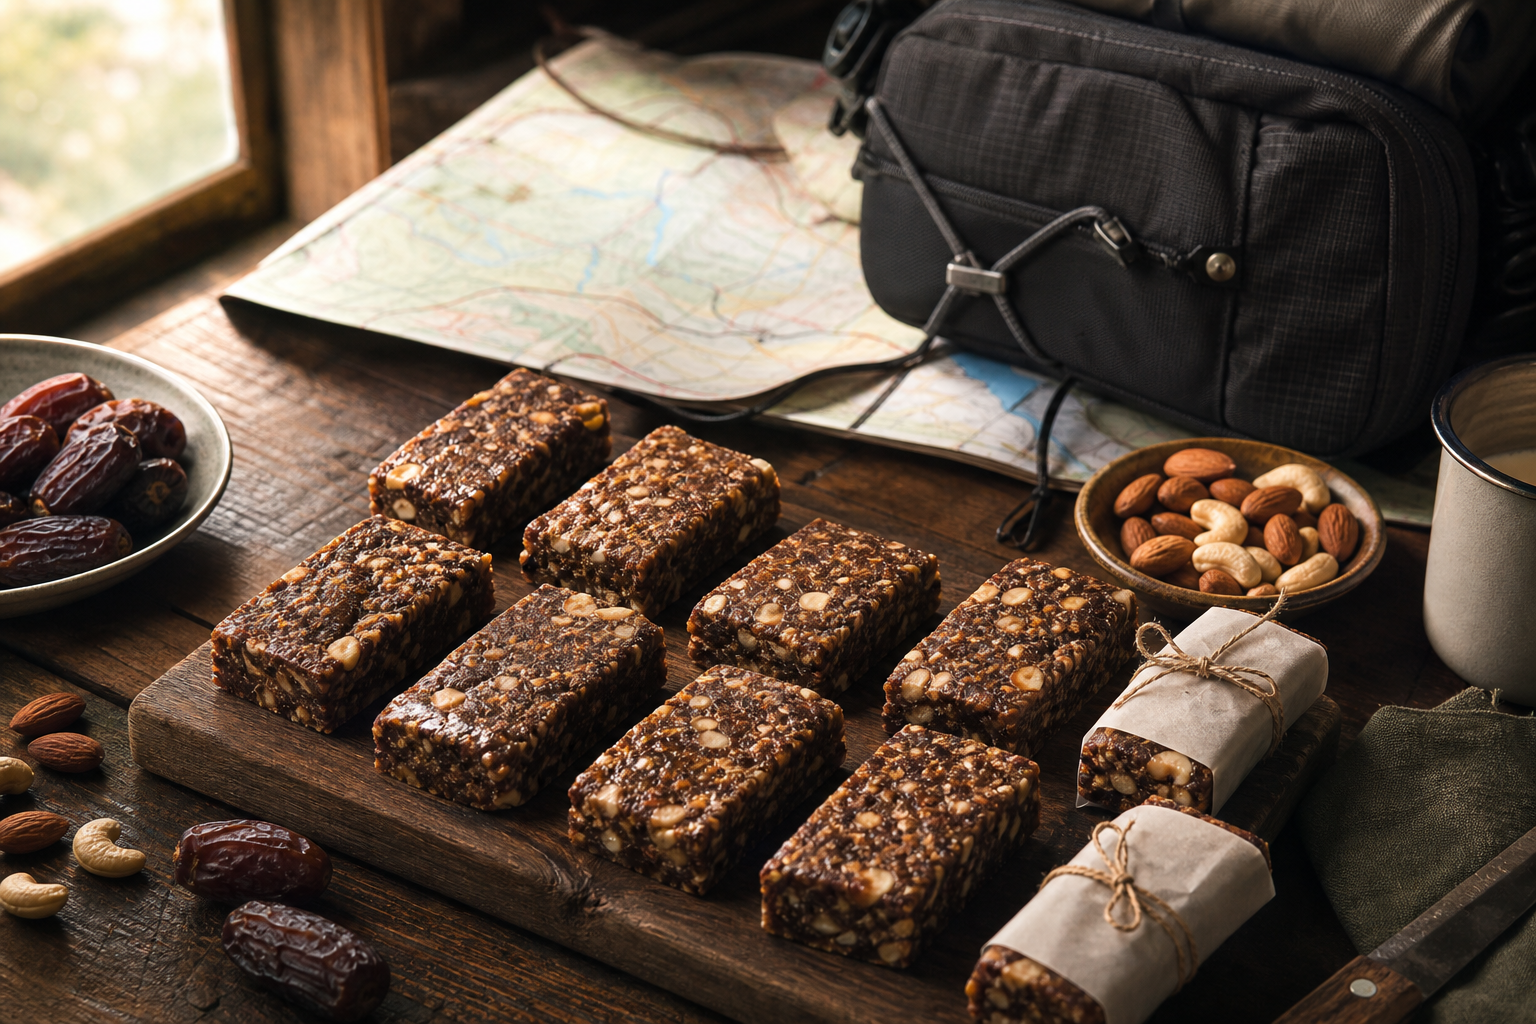
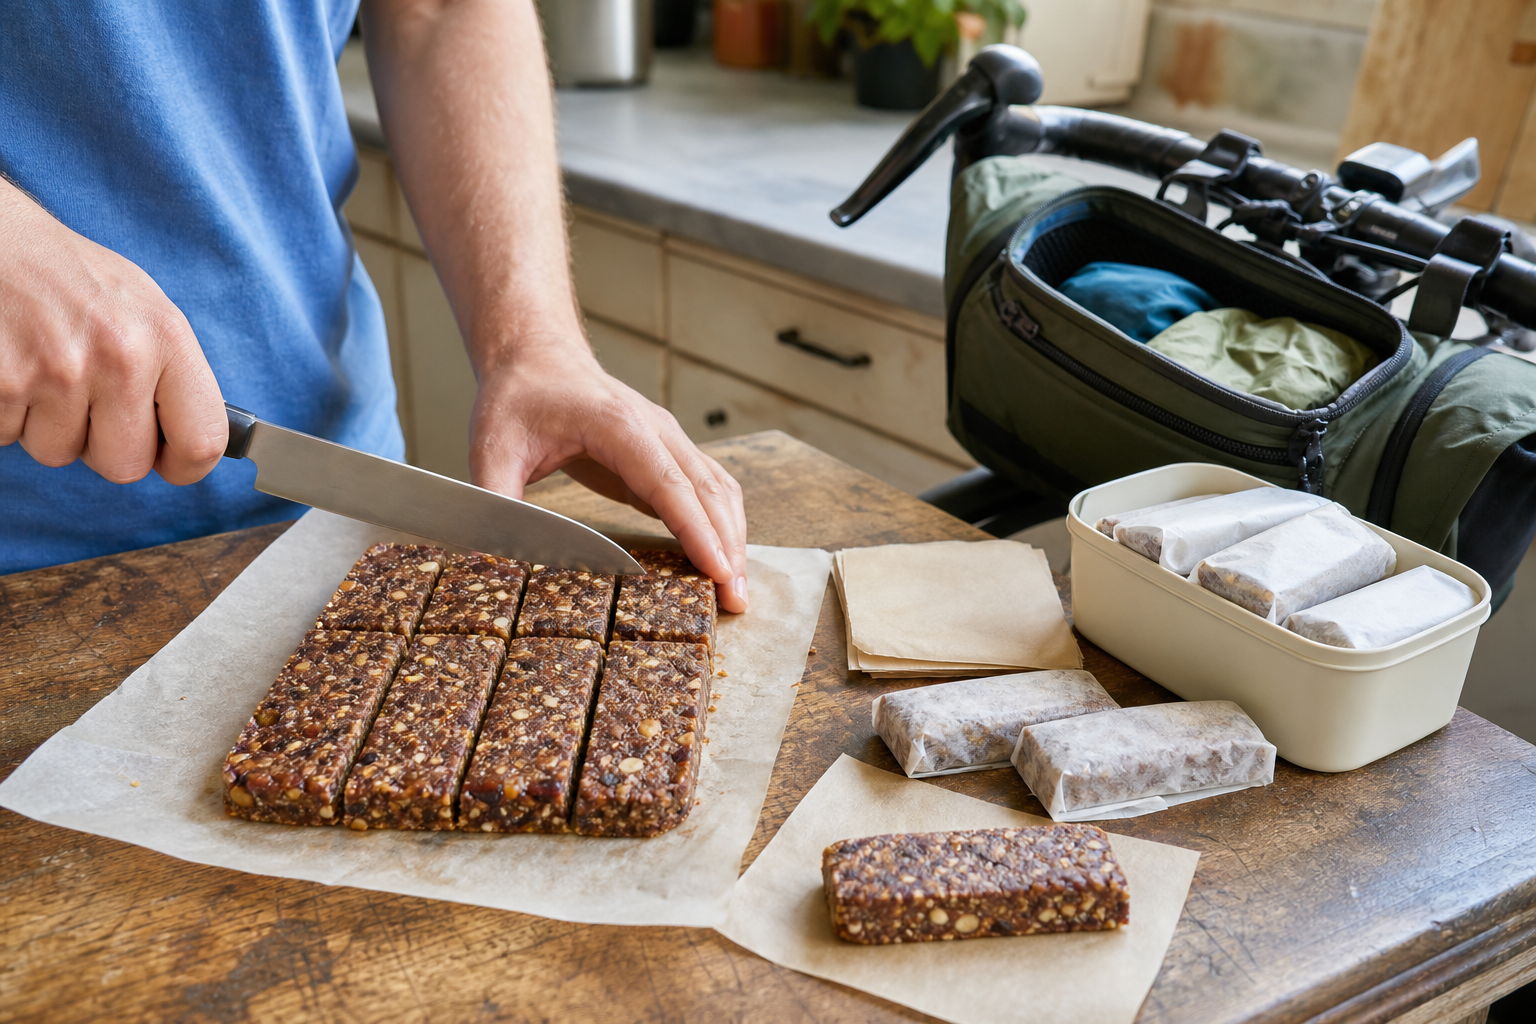
Lift the slab out and place it on a stable cutting board. Use a sharp chef's knife to square the edges if desired, then cut four equal columns and halve each to make eight bars. Wrap individually in parchment, waxed paper, or tested reusable sleeves. Fold the opening toward the underside so it can be peeled back with gloved or dusty hands without touching the whole bar.
06Store, pack, and field-test
Refrigerate in an airtight container for up to one week or freeze for longer storage, checking ingredients and local food-safety guidance. For a ride, pack bars cold in a rigid or lightly protected spot away from tools. Test one on a local ride in expected heat before relying on the batch remotely. Eat with water, note stomach comfort and packaging performance, and discard bars showing spoilage, unusual odor, or visible mold.

The field list
- ✓ Dates checked for pits
- ✓ Nuts pulsed but not turned to butter
- ✓ Mixture passes the squeeze test
- ✓ Slab pressed firmly into the corners
- ✓ Eight portions cut evenly
- ✓ Each bar wrapped for clean opening
- ✓ Cold storage and ride date marked
- ✓ One bar heat-tested before remote use
Plan with trusted sources.
Use these links as a starting point, then confirm destination-specific rules, closures, weather, and safety information before every trip.
- FoodSafety.gov: Four Steps to Food Safety — Official clean, separate, cook, and chill guidance for home food preparation.
- FDA: Preventing Allergen Cross-Contact — Background on major allergens, including tree nuts, and cross-contact prevention.
- MyPlate: Healthy Snacking — A simple framework for building snacks from multiple food groups.
- NPS Backcountry Food Storage — Verify destination-specific requirements for storing every food and scented item.
Recipe Video: Cocoa-Orange DIY Ride Bars
Film the ingredient texture, nut-pulsing stage, squeeze test, pressing pressure, clean cut, wrapping method, and a real handlebar-bag field test.
TEMPLATE NOTE: Replace this module with a YouTube block when the episode is ready. Keep the title, short summary, chapters, and related links below it.