A flat tire is rarely complicated once you identify what actually failed. Stop somewhere safe, preserve the evidence, and work from the least invasive repair to the most involved. This guide covers the full trail-side process for modern tubeless and tubed bicycle tires—and explains when a repair is only good enough to get you home.
01Get safe and preserve the evidence
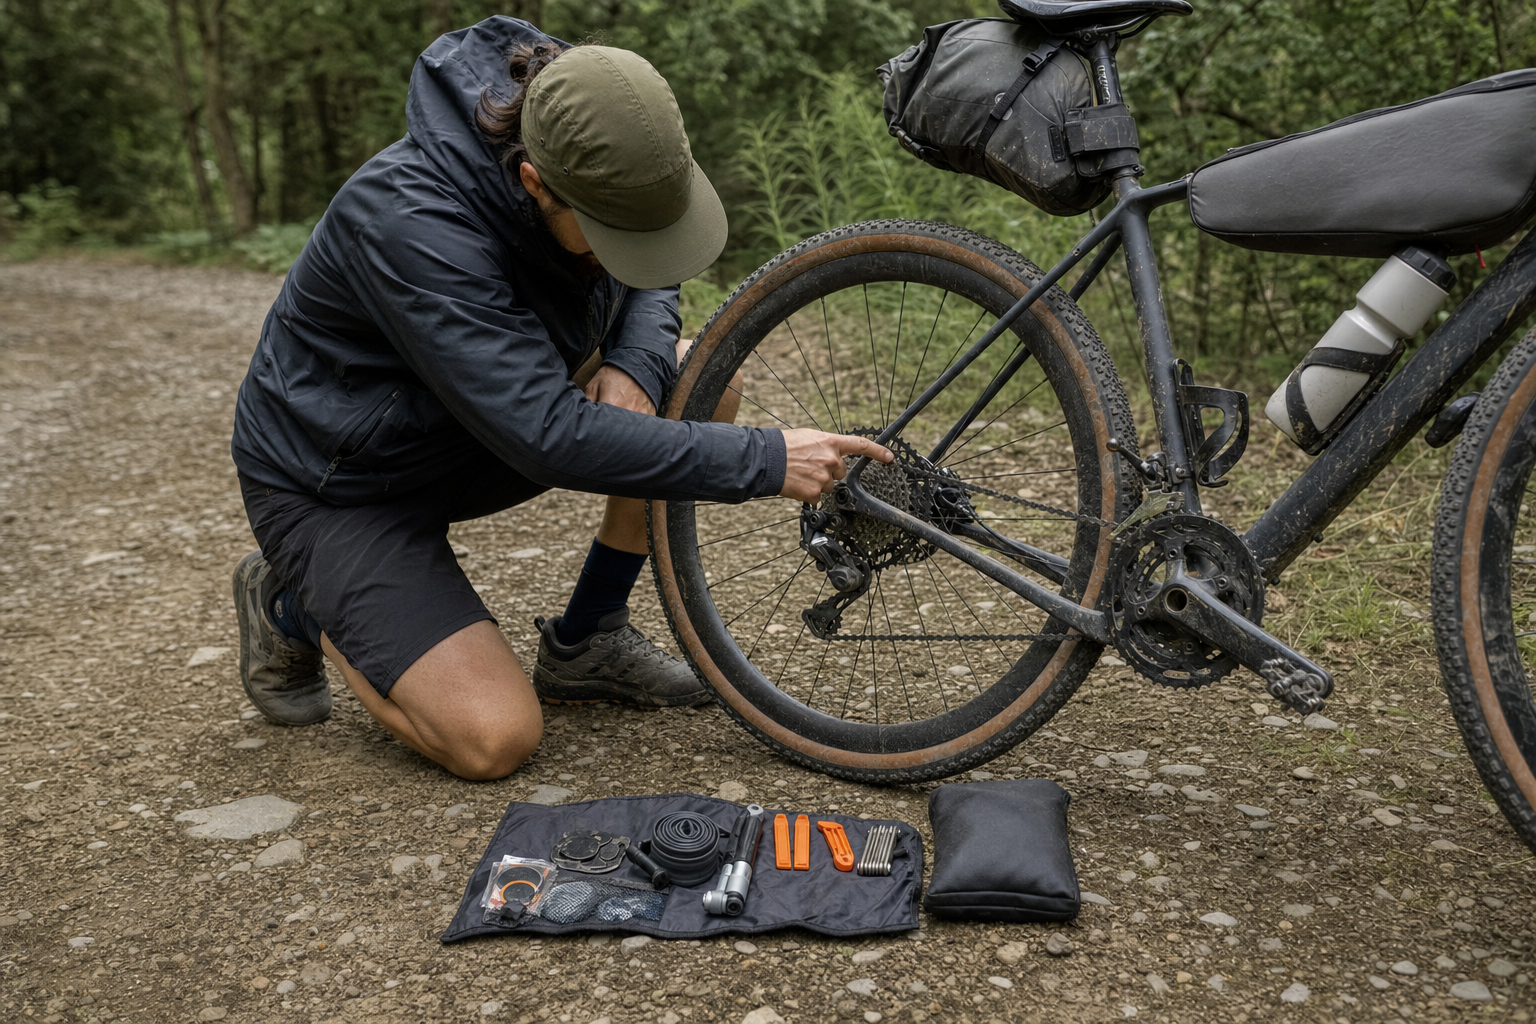
Ease off the bike as soon as the tire feels vague, squirms in a corner, or begins striking the rim. Do not ride a soft tire farther than needed to reach stable ground; every rotation can enlarge a cut, damage the rim, or unseat the bead. Shift into the smallest rear cog before removing a rear wheel. Place the bike drivetrain-side up, gather every loose part on a cloth, and mark the wet or hissing area before spinning the wheel. Leave the thorn, wire, or screw in place until you understand which repair you are making—it points directly to the hole and may temporarily slow the leak.
“Do not rush to pull the tire apart. The leak is telling you which repair it needs.”
Z.O.A.T. workshop noteThe diagnosis rule that saves the most time and air
02Diagnose before taking the tire apart
Add a little air and listen. Bubbles or sealant at the center tread usually indicate a puncture. Air escaping beside the rim may mean an unseated bead or damaged rim tape. A leak at the valve can come from a loose core, failed valve base, or torn tape. Inspect both sidewalls for cuts, fabric showing through, or a growing bulge. For a tube, compare the hole’s position with the tire and rim: one clean outer hole suggests a sharp object; two parallel slits suggest a pinch flat; a hole on the rim side points toward tape, a spoke hole, or a burr. Finding the cause matters more than finding the hole.
03Repair a small tubeless tread puncture
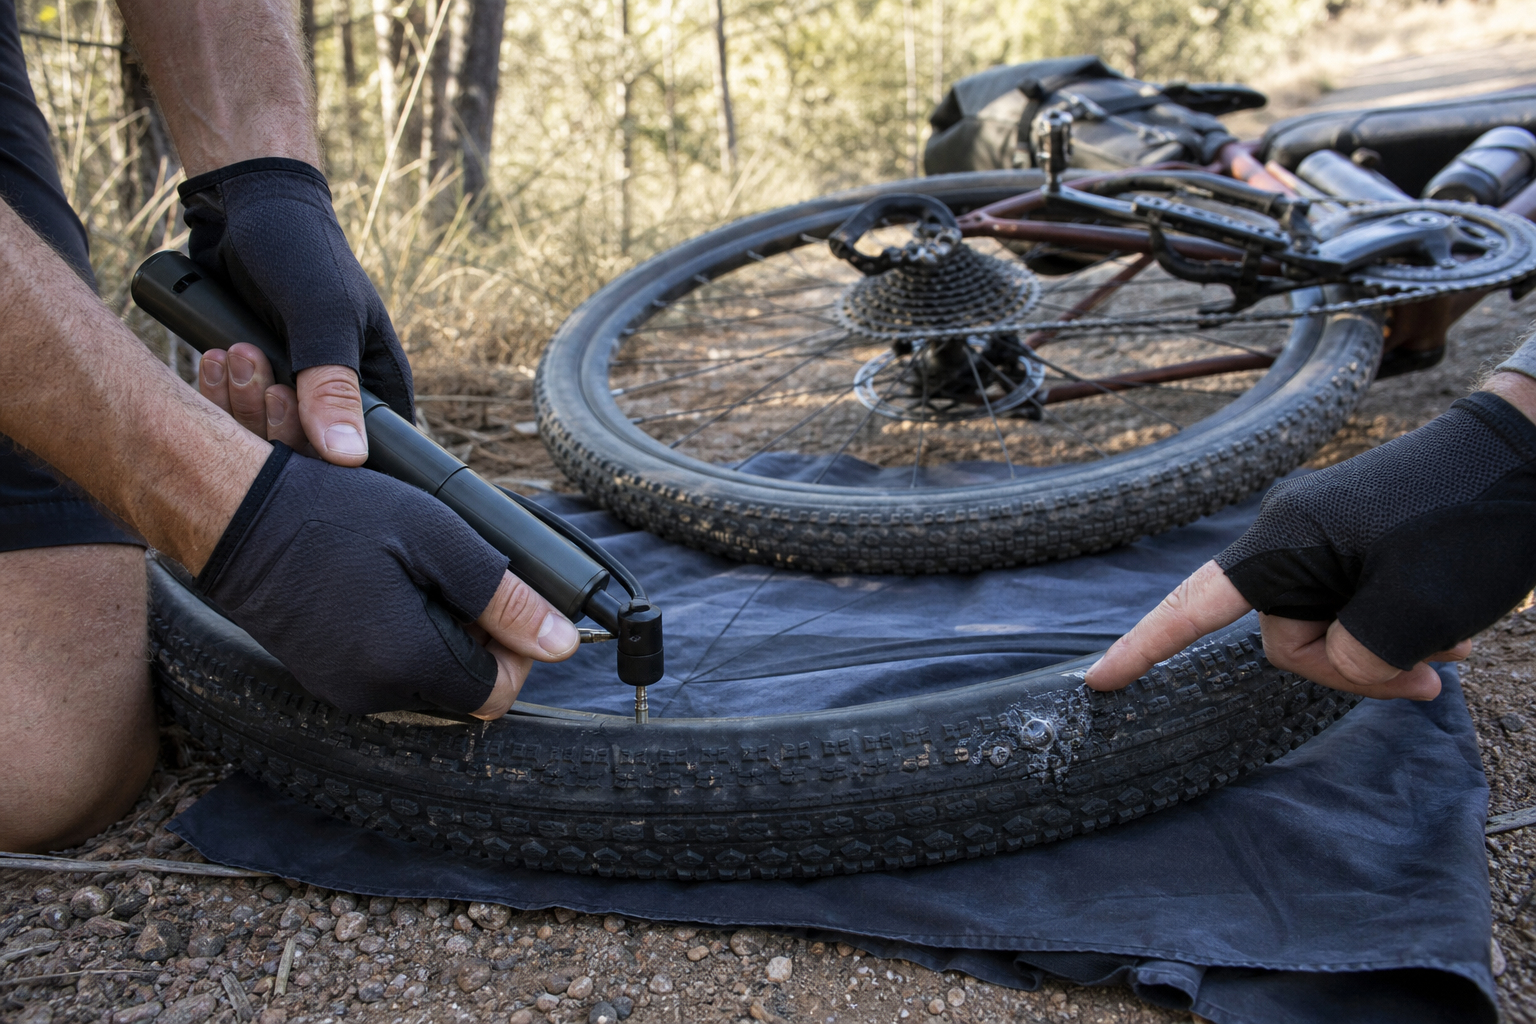
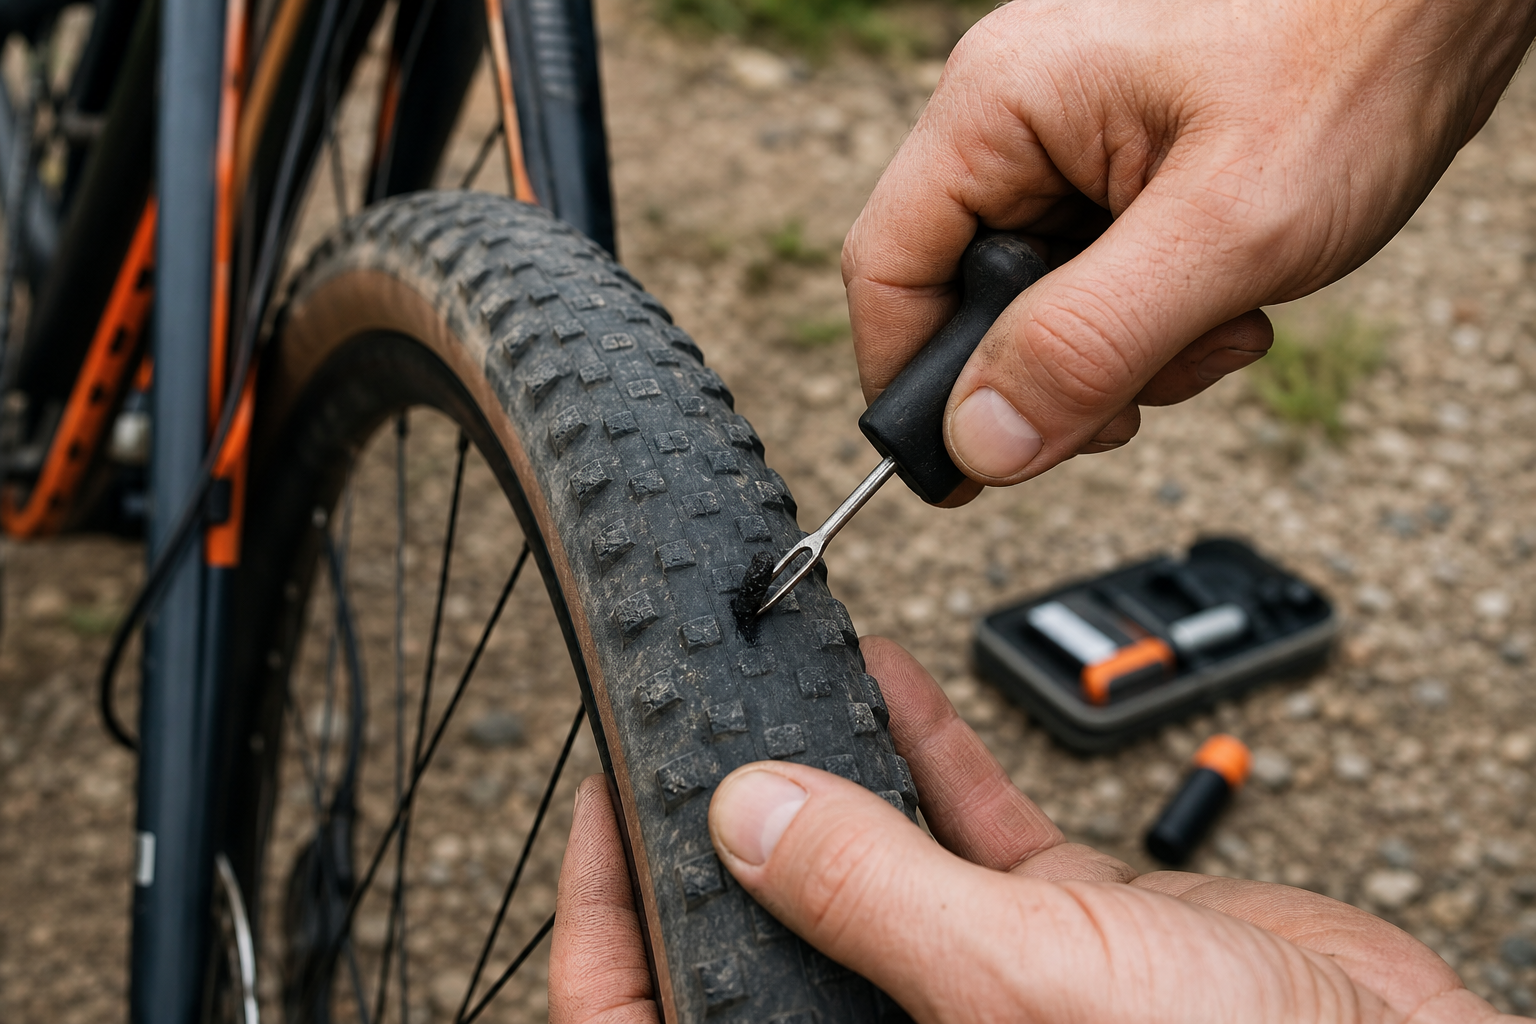
Rotate the puncture low so sealant can pool behind it, then inflate enough to give the tire shape. If it will not seal, load one correctly sized plug into the fork tool. Remove the object, push the plug straight into the tread until only short tails remain, then withdraw the tool without twisting. Reinflate and rotate the repaired area downward for a minute. Listen, add a drop of water if needed to reveal bubbles, and confirm the pressure holds. Avoid cutting the plug tails flush on the trail. A plug near the tread center can be a durable field repair, but inspect it after the ride and follow the tire or plug maker’s guidance.
04Use a boot for a cut tire
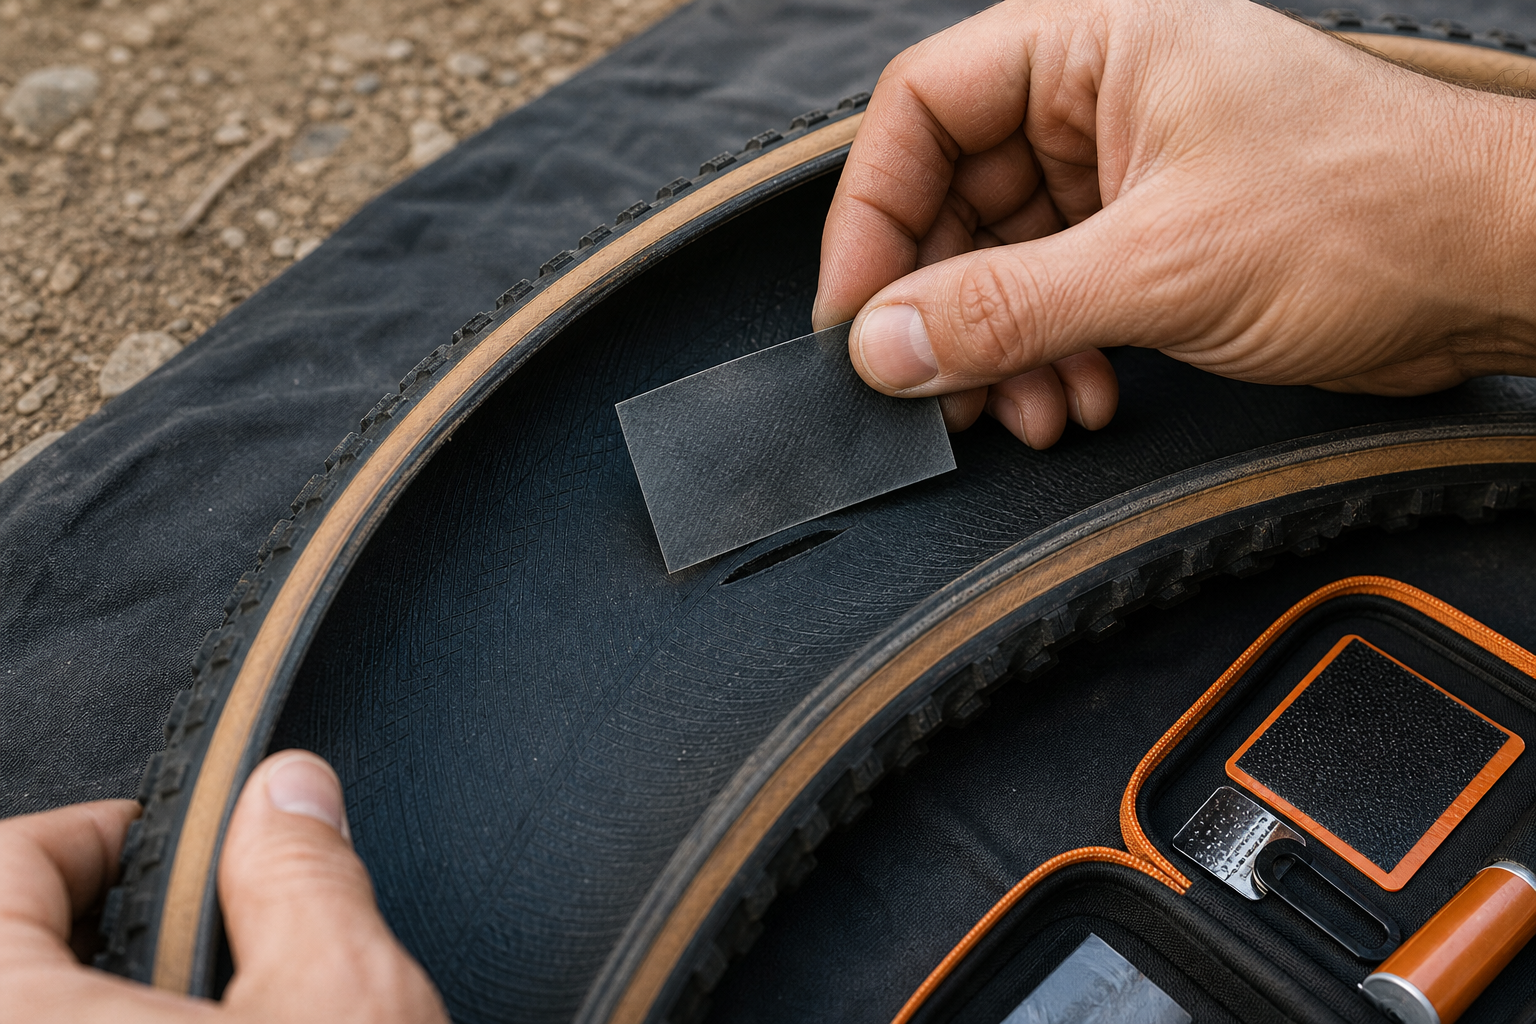
A cut large enough to expose casing threads, a sidewall split, or a hole that will not retain a plug needs support from inside. Remove the wheel, unseat one bead, and clean the inside around the damage. Center a purpose-made tire boot over the cut with generous overlap. If the boot has adhesive, press it firmly; otherwise hold it in position while installing the tube. In an emergency, a folded section of durable packaging can prevent the tube from pushing through, but it is a get-home measure. If cords are severed, the bead is damaged, or the casing forms a bulge at low pressure, walk rather than risk a sudden failure.
05Install the spare tube
Remove the tubeless valve if present and inspect the entire tire interior with careful fingertips—never sweep quickly across a hidden shard. Check the rim tape and remove the original cause. Put just enough air in the tube to give it shape. Insert the valve straight through the rim, tuck the tube evenly into the tire, and begin seating the bead opposite the valve. Finish at the valve while pushing it upward so the tube is not trapped beneath the bead. Use levers only if necessary and keep their tips away from the tube. Before inflating, work around both sides of the wheel, squeezing the tire and confirming no tube is visible.
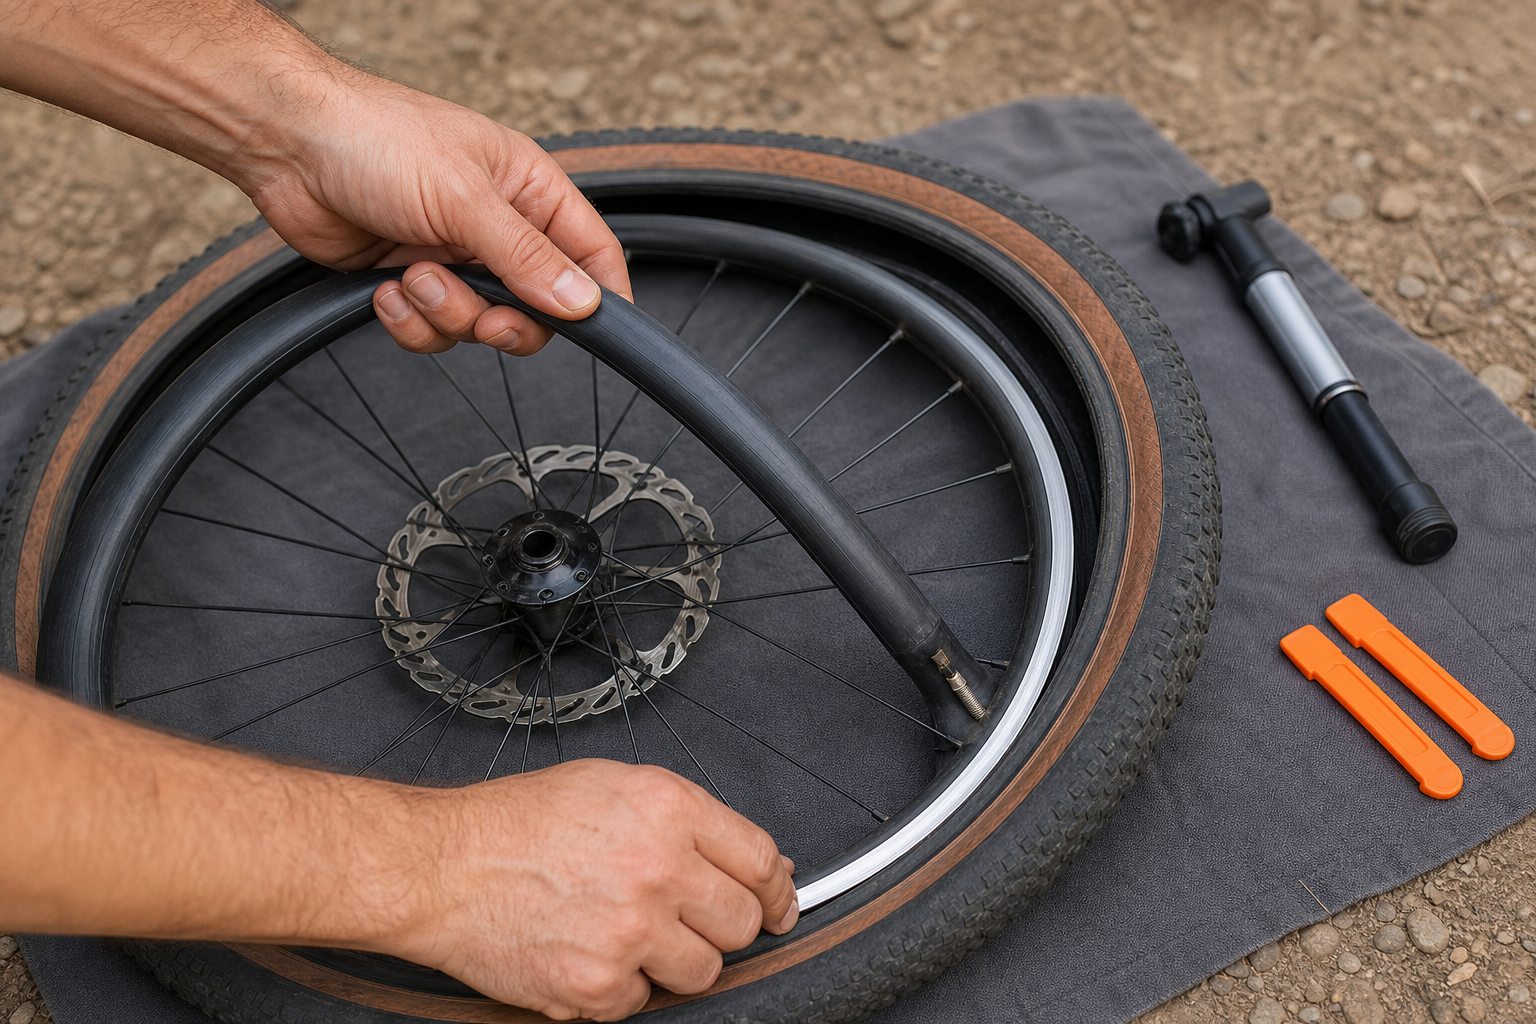
06Inflate, seat, and check the wheel
Inflate in stages. At low pressure, inspect the bead line on both sides; it should sit evenly around the rim. Stop immediately if the tube appears, the tire rises unevenly, or a booted area bulges. Bring the tire only to a conservative riding pressure, reinstall the wheel fully into the dropouts, tighten the axle, and confirm the brake rotor sits between the pads. Spin the wheel, squeeze the brake, and check that the derailleur shifts cleanly. After five minutes, test pressure again before loading the bike.
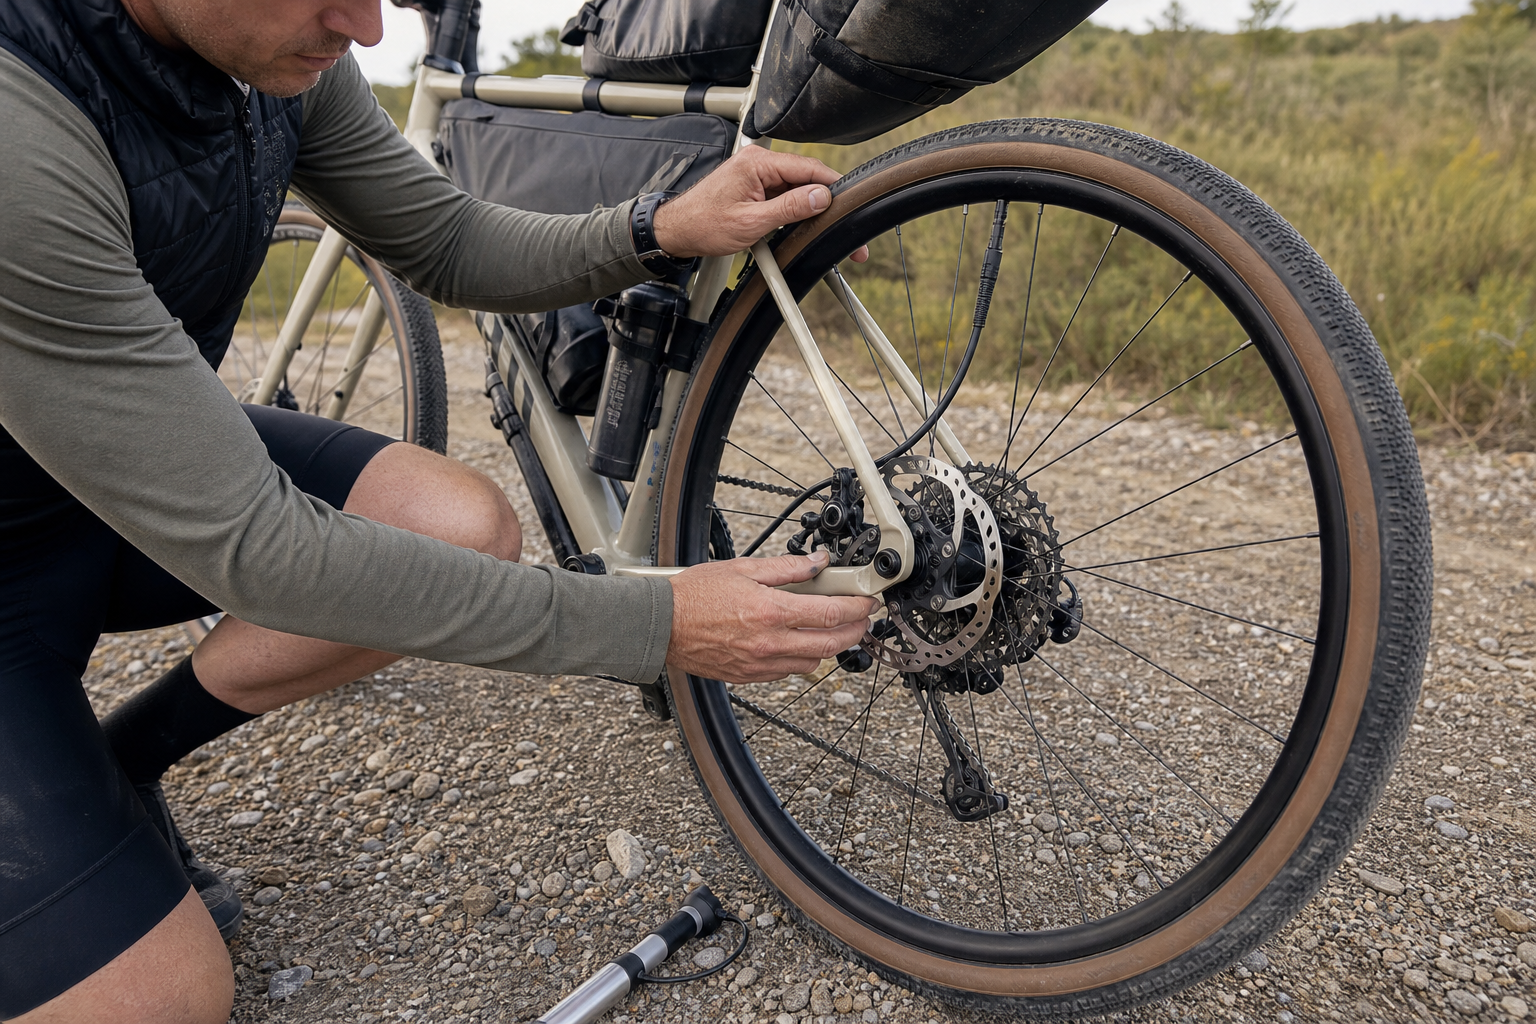
07Know when the repair is not rideable
Do not ride a cracked or sharply dented rim, damaged bead, large casing bulge, repeated blow-off, or a cut that continues growing under modest pressure. A plugged tread puncture that holds can often be ridden conservatively; a booted sidewall with a tube should be treated as temporary. Reduce speed, avoid hard cornering and impacts, and check the repair frequently. If pressure falls twice without a clear explanation, stop and reassess rather than using the last of your air on the same failed approach.
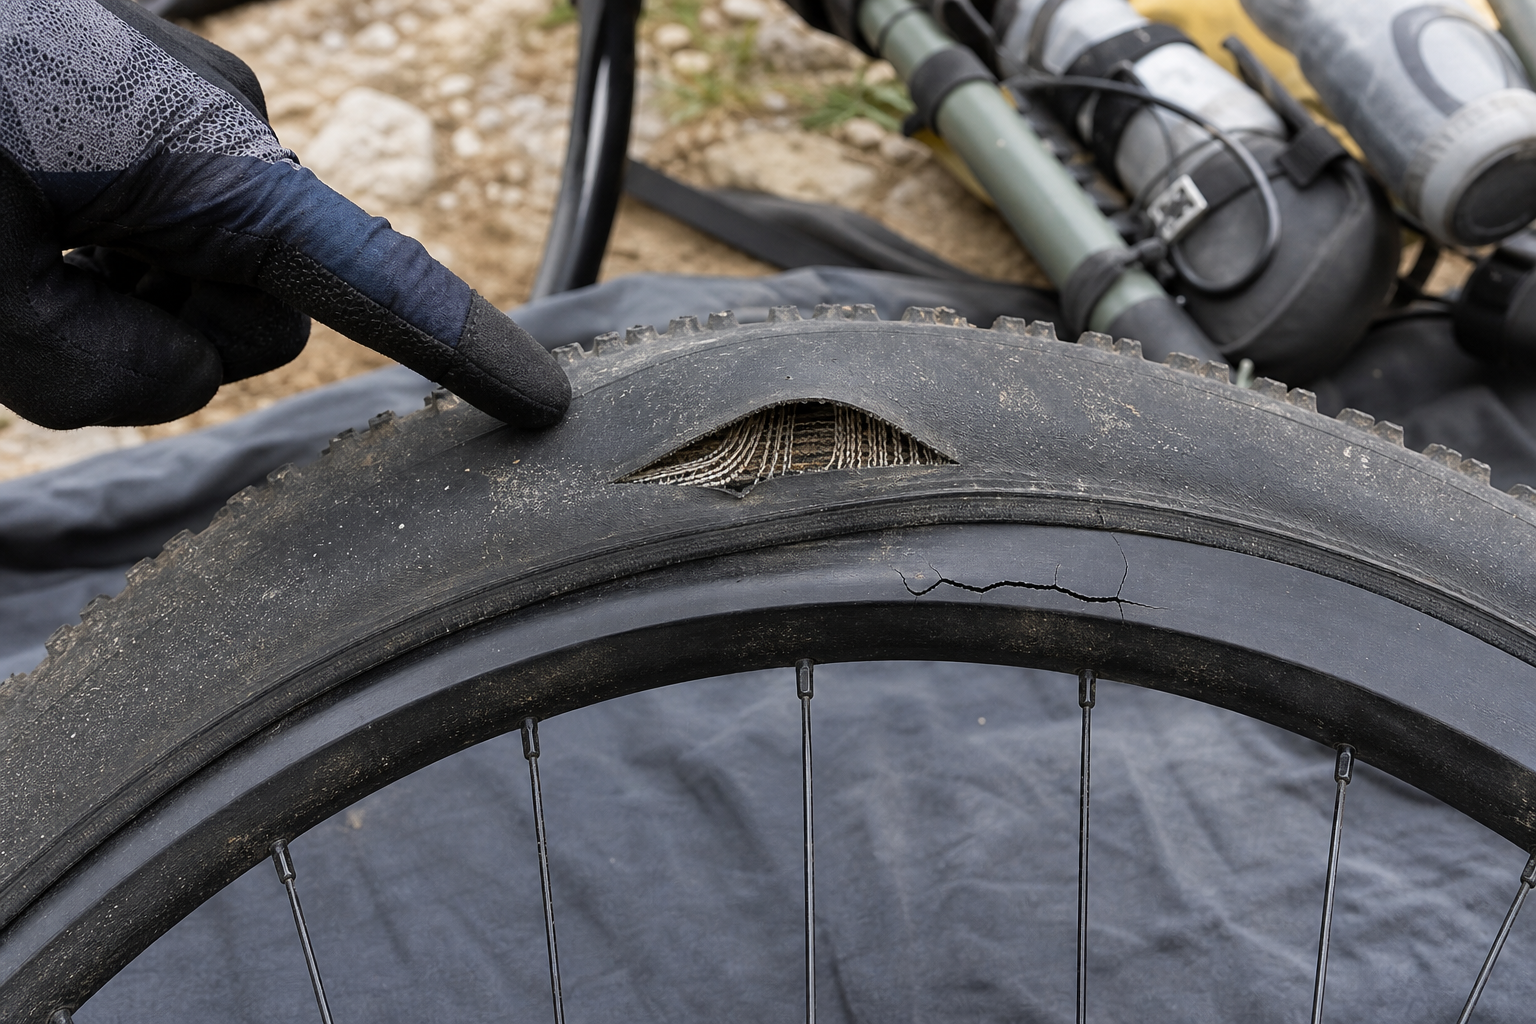
08Prevent the next flat
At home, remove the tire and inspect the repair under clean light. Replace a compromised tire, damaged rim tape, bent valve, or questionable tube. Refresh tubeless sealant on a schedule appropriate to climate and tire volume. Record the pressure that produced the pinch or rim strike, then adjust pressure, line choice, or tire casing for future trips. Practice every repair with the exact wheels and tools you travel with; a spare that does not fit the valve, a pump that cannot seat securely, or a seized axle is not a repair system.
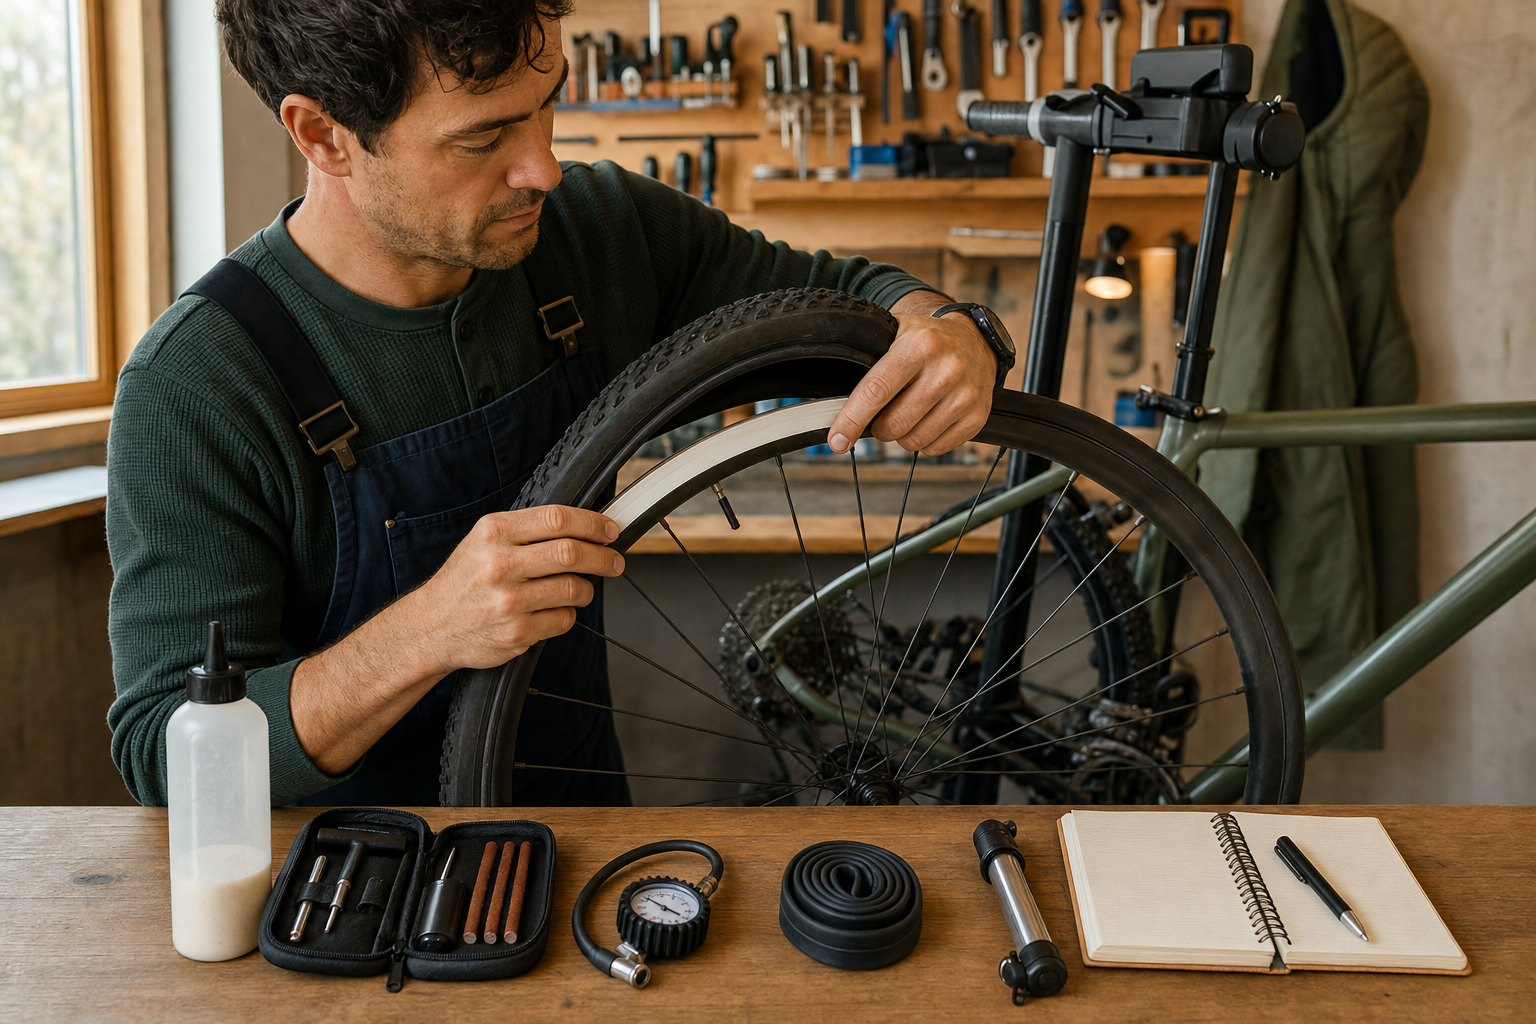
The field list
- ✓ Correct-size spare tube with compatible valve
- ✓ Tubeless plug tool with two plug sizes
- ✓ Purpose-made tire boot and tube patches
- ✓ Reliable hand pump with a secure head
- ✓ Two tire levers and valve-core tool
- ✓ Spare tubeless valve and removable core
- ✓ Small cloth, nitrile gloves, and waste bag
- ✓ Emergency contact plan when the wheel cannot be made safe
Plan with trusted sources.
Use these links as a starting point, then confirm destination-specific rules, closures, weather, and safety information before every trip.
- Park Tool: Tire & Tube Removal and Installation — Detailed visual guidance for removing a wheel, fitting a tube, and reseating the tire.
- Park Tool: Tubeless Tire Mounting and Repair — A technical companion for tubeless diagnosis, plugs, sealant, and tire seating.
- Park Tool: Inner Tube Repair — Step-by-step instructions for locating and patching tube punctures.
- REI: How to Fix a Flat Tire — A concise overview of trail-side flat repair and the tools to carry.
Video Workshop: Fix Any Common Trail Flat
Use the final video for a real-time diagnosis, tubeless plug, sidewall boot, spare-tube installation, bead check, and the clear no-ride conditions that every traveler should recognize.
TEMPLATE NOTE: Replace this module with a YouTube block when the episode is ready. Keep the title, short summary, chapters, and related links below it.